

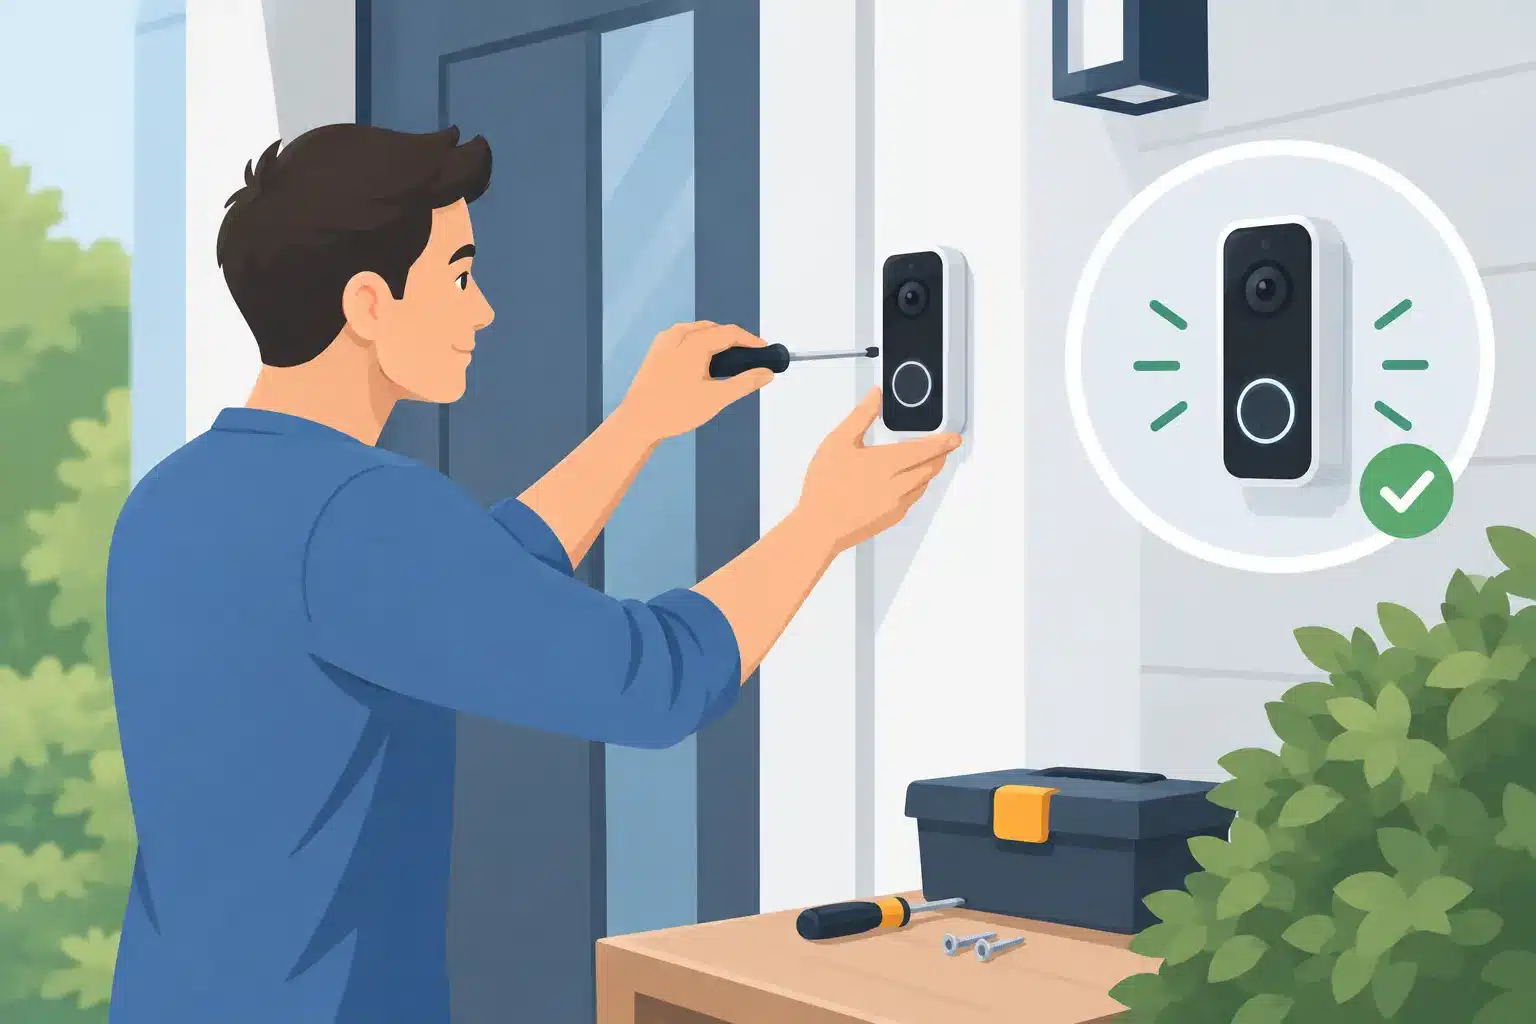
A video doorbell is only helpful if it captures the right view, stays connected, and rings reliably when someone is at the door. Ring installation made easy for homeowners starts with choosing the right setup for the home, not simply attaching a device beside the front door. A little planning can prevent weak video coverage, repeated alerts, battery hassles, and avoidable electrical problems.
For homeowners in the Antelope Valley, a properly installed video doorbell can add practical peace of mind whether you are home, at work, or away for the weekend. The best installation is one that supports everyday safety without creating new maintenance concerns.
Start With the Right Ring Doorbell Setup
Ring video doorbells are commonly available in battery-powered and hardwired versions. Both can be useful, but they are not interchangeable from a planning standpoint.
A battery-powered doorbell is often the simpler choice when there is no existing doorbell wiring or when homeowners want to avoid modifying an older electrical system. It can be installed without connecting to household wiring, but the battery will need periodic charging. Activity levels, temperature, video settings, and Wi-Fi signal strength can all affect how often that is necessary.
A hardwired doorbell can provide continuous power and reduce the routine of removing and charging a battery. However, it depends on the condition of the existing wiring, doorbell transformer, chime setup, and electrical connections. Many older homes have low-voltage doorbell systems that were never designed for newer smart devices. The doorbell may power on initially but perform inconsistently if the transformer cannot supply the voltage or capacity the device requires.
Before choosing a model, consider whether your current doorbell works consistently, whether wiring is visible at the door location, and whether you want to manage battery charging. If the answers are unclear, an electrician can assess the existing setup before a new device is installed.
Ring Installation Made Easy for Homeowners Begins With Placement
The front-door location affects more than appearance. A doorbell camera needs a clear view of visitors, packages, and the approach to the entrance while avoiding unnecessary views into a neighbor’s property or a busy street.
Mounting height matters. A camera placed too high may miss packages at the doorstep. One placed too low can be easier to tamper with and may capture less useful footage. The best height depends on the device model, porch layout, stairs, door swing, and whether there is a screen door or security door in front of the main entrance.
Take a few minutes to stand where the unit will be mounted and look for obstructions. Porch columns, decorative trim, planters, railings, and open doors can all block part of the camera’s field of view. Direct afternoon sunlight can also create glare that makes faces harder to see. In many cases, an angled mounting bracket helps point the camera toward visitors rather than across the yard.
Placement should also account for your Wi-Fi signal. A doorbell may be only a short distance from the router as the crow flies, but exterior stucco, brick, metal doors, insulation, and interior walls can weaken the connection. If live video loads slowly or the device disconnects often, the issue may be network coverage rather than the doorbell itself.
Check Existing Doorbell Wiring Before Connecting It
If you are replacing a wired doorbell, turn off power to the circuit before touching any wiring. Doorbell wiring is generally low voltage, but it is still connected to an electrical system that deserves careful handling. Do not assume wires are safe because an old chime or button has stopped working.
A functioning hardwired installation requires more than two wires at the wall. The transformer must be compatible with the device, connections must be secure, and the chime arrangement may need adjustment. Some installations need a chime connector or bypass component to prevent humming, repeated chime sounds, or poor performance.
Signs that a professional inspection is worthwhile include a doorbell that will not power on, a chime that buzzes after installation, hot components, damaged or brittle wiring, or an older electrical panel with unknown circuit labeling. These issues are not reasons to abandon the project. They are reasons to make sure the home’s electrical system is evaluated before the new device is placed into service.
Protect the Exterior Finish and the Electrical Connection
Outdoor equipment has to stand up to heat, wind, dust, moisture, and daily use. That is especially relevant in Palmdale, Lancaster, and nearby high-desert communities, where strong sun and temperature swings can affect exterior materials over time.
Use the hardware designed for the mounting surface. Wood siding, stucco, masonry, and vinyl all require different anchors or drilling methods. A loose mount can shift the camera angle, expose wiring, or damage the wall around the device. Avoid drilling blindly into an exterior wall, particularly near existing electrical boxes, light fixtures, or other wiring routes.
For hardwired installations, wires should be tucked safely behind the device without being pinched, stretched, or left exposed. The mounting plate should sit flat and secure against the surface. If the existing opening is oversized, damaged, or poorly located, it may need repair or a different mounting approach before the doorbell can be properly secured.
Set Up Alerts for Useful Security, Not Constant Interruptions
Once the doorbell is installed, the app settings determine whether it feels helpful or distracting. A camera pointed at a sidewalk, street, or active driveway can generate frequent motion alerts. Start with a focused motion zone around the walk-up path and front-door area, then adjust based on what the camera actually captures over several days.
It also helps to test notifications from inside the home and while using mobile data away from home. Confirm that live video loads, two-way audio is clear, and the indoor chime or app alert can be heard where it matters most. A device that is technically connected but difficult to hear or slow to respond may need changes to settings, Wi-Fi coverage, or placement.
Be thoughtful about privacy settings as well. Aim the camera toward your entry and limit recording areas that do not serve a clear security purpose. Good coverage should help you see who is approaching your home without recording more than necessary.
When a Professional Installation Makes Sense
Many battery doorbells can be mounted by a homeowner with basic tools and careful attention to the manufacturer’s instructions. A professional installation becomes the smarter option when the project involves electrical troubleshooting, new wiring, transformer replacement, wall repair, chime integration, or a challenging exterior surface.
It is also a good choice when the device needs to be mounted away from the original doorbell location. Moving a doorbell may require routing low-voltage wiring through finished walls, exterior surfaces, or attic spaces. That work should be planned carefully so it looks clean and remains dependable over time.
A licensed electrician can identify whether an existing transformer is adequate, correct poor connections, and help avoid damage to the doorbell, chime, or electrical system. At A1 Home Electric, the focus is on quality and safety, so homeowners can feel confident that a smart-home upgrade is supported by sound electrical work rather than a temporary workaround.
A well-installed Ring doorbell should fade into the background until you need it. When the camera view is clear, the power source is dependable, and the alerts are set up thoughtfully, your front door becomes easier to monitor and your home feels better protected every day.