
A smart thermostat can make a noticeable difference in an Antelope Valley home. It can help manage long, hot summers, reduce wasted energy when the house is empty, and give you more control over comfort from your phone. But nest installation made easy for homeowners starts with one practical point: a thermostat is connected to your HVAC system’s low-voltage controls, and the wiring needs to be identified correctly before anything is moved.
For many homes, a Google Nest thermostat is a manageable upgrade. For others, especially homes with older equipment, missing wiring, heat pumps, or unusual control setups, bringing in a licensed electrician is the safer choice. The goal is not simply to get the screen powered on. It is to make sure your heating and cooling equipment operates reliably afterward.
Before You Start a Nest Thermostat Installation
Begin by checking compatibility with your heating and cooling system. Most conventional forced-air systems work well with smart thermostats, but compatibility can vary with heat pumps, dual-fuel systems, multi-stage equipment, whole-home humidifiers, and zone controls. If your thermostat manages more than basic heating and cooling, do not assume each wire will transfer to the same terminal without verification.
Next, look at your existing thermostat wiring. Remove only the thermostat’s faceplate, not the wall plate, and take a clear photo of every wire and terminal label. Common labels include R, Rc, Rh, Y, G, W, C, O/B, and AUX. The color of a wire is not a reliable identifier. A blue wire is often used as a common wire, for example, but it may not be connected that way at either end.
Your installation also depends on steady power. Many Nest models can operate for a time without a dedicated common wire, often called a C-wire, by drawing a small amount of power from the HVAC system. That arrangement works in some homes, but a dedicated C-wire is generally the more dependable option. It helps prevent battery drain, system cycling concerns, connection problems, and intermittent thermostat behavior.
Know When Wiring Calls for Professional Help
Stop and schedule professional service if you find damaged insulation, loose terminals, corroded wires, a thermostat that has no labeled connections, or a system that repeatedly trips a breaker. You should also pause if the existing thermostat has more wires than the new unit instructions account for, or if the wall opening exposes older or deteriorated cable.
A smart thermostat itself uses low-voltage wiring, but the HVAC equipment it controls is connected to line-voltage electrical components. Working at the furnace, air handler, control board, or condenser can introduce hazards that go beyond replacing a wall thermostat. A licensed electrician can assess the wiring path, provide a proper common wire when needed, and help protect both the thermostat and the HVAC controls.
Nest Installation Made Easy for Homeowners: A Safe Process
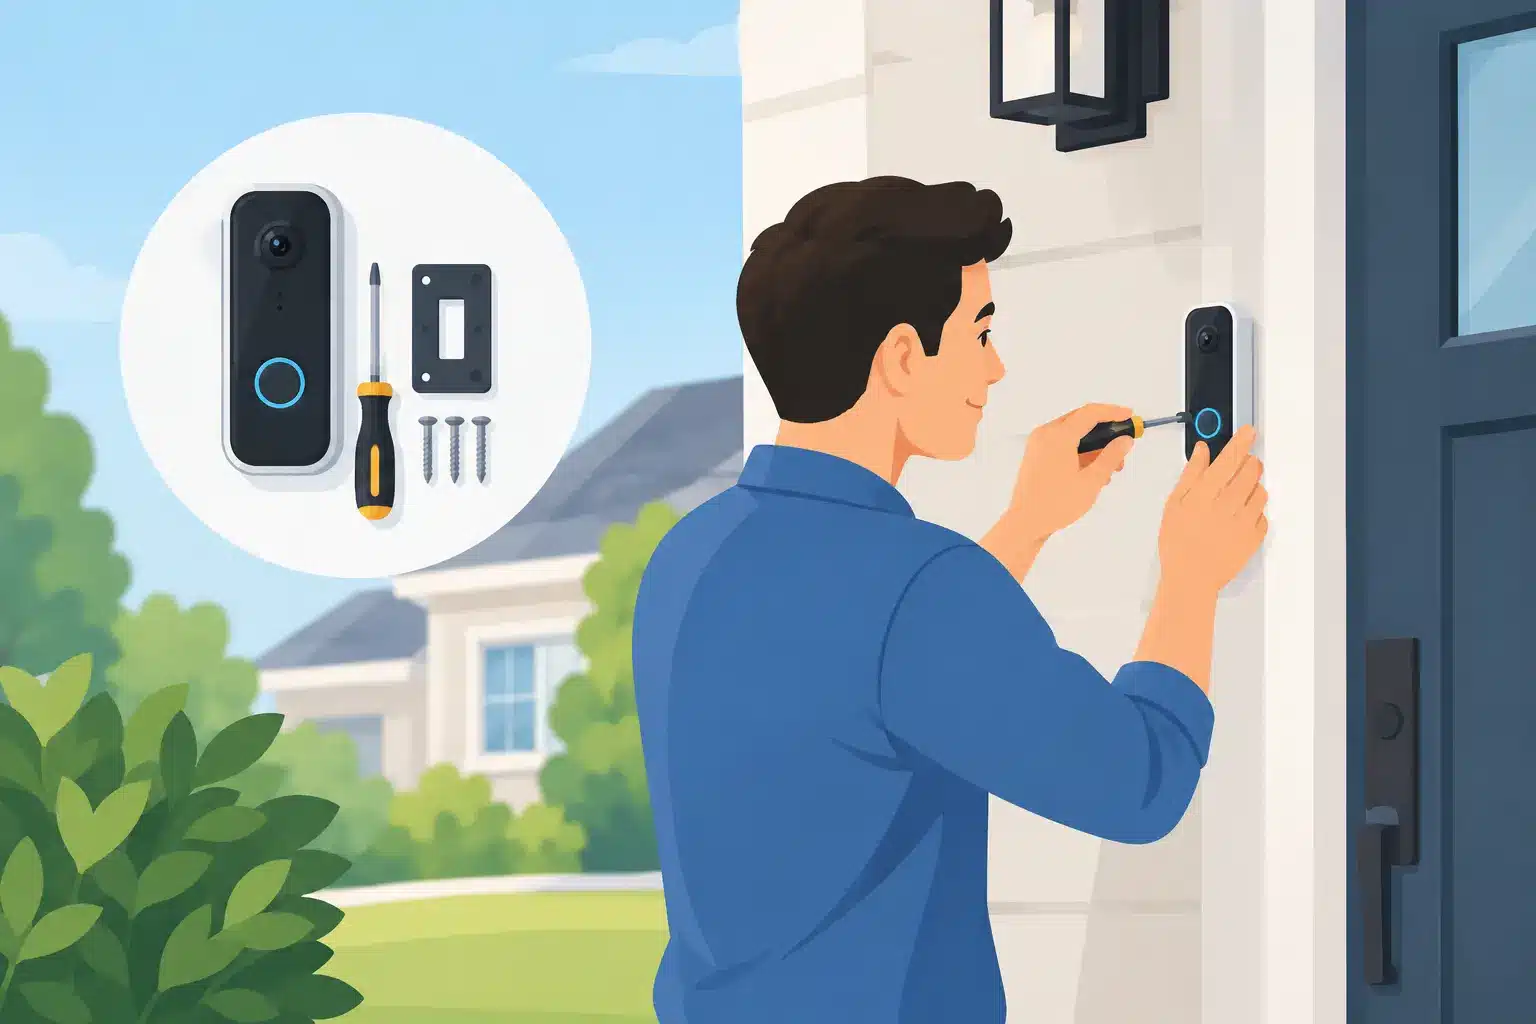
The installation process is straightforward when the system is compatible and the wiring is in good condition. Take your time, keep the work area organized, and do not rely on memory.
First, turn off power to the heating and cooling equipment at the appropriate breaker. Do not depend on the thermostat’s off setting. Depending on the home, the furnace or air handler, outdoor condenser, and thermostat transformer may be served by separate disconnects or breakers. Confirm the old thermostat is no longer powered before touching its wires.
Remove the old thermostat faceplate and photograph the existing setup again. Label each wire by its terminal letter, not its color. Small labels or pieces of masking tape work well. This step matters because wires can slip back into the wall once the old plate is removed, and reconnecting a wire to the wrong terminal can leave you without heating, cooling, or proper fan operation.
Once the wires are labeled, remove the old wall plate. Check that the new Nest base will sit flat against the wall and that the wires can reach their assigned terminals without being stretched. If the old thermostat left a large opening, use an appropriate trim plate or have the wall repaired so the finished installation is secure and clean.
Connect each wire to the terminal specified for your model and system configuration. Push the wire in fully, making sure the conductor is straight and enough bare copper is exposed for a solid connection. Do not force a wire into a terminal that does not match its label. If the old and new terminal markings seem different, stop and verify the system type before proceeding.
Mount the thermostat, restore power, and follow the on-screen setup. The thermostat will typically ask about the equipment it controls, your Wi-Fi network, and basic comfort preferences. Entering the correct equipment type is more than a setup detail. Incorrect settings can cause a heat pump to run inefficiently, auxiliary heat to operate unexpectedly, or cooling to fail when temperatures rise.
Test Every Function Before Calling It Finished
After setup, test heating, cooling, and the fan separately. Give the system a few minutes to respond, particularly when testing cooling. Confirm that warm air arrives during a heat call and cool air arrives during a cooling call. Check that the fan runs when selected and shuts off normally afterward.
Pay attention to anything unusual: short cycling, a blank display, delayed operation that does not resolve, humming from the air handler, error messages, or a breaker that trips. A thermostat may have a built-in delay to protect HVAC equipment, so a brief wait can be normal. Repeated errors are not. Turn the system off and arrange an inspection rather than repeatedly resetting equipment.
Common Nest Installation Problems and What They Mean
A thermostat that will not power up often points to a missing common wire, a blown low-voltage fuse in the HVAC equipment, a tripped breaker, or a loose connection. Replacing the thermostat will not solve a wiring or equipment issue.
Wi-Fi trouble is usually less serious, but placement can matter. A thermostat installed on an exterior wall, near a draft, in direct sunlight, or close to a kitchen can read the room inaccurately. The best location is typically an interior wall in a frequently used area, away from supply vents and direct heat sources.
If the thermostat turns on but heating or cooling does not respond properly, recheck the terminal labels and equipment settings. This is especially common when a home has a heat pump or separate heating and cooling systems. Avoid moving wires around as a trial-and-error fix. Incorrect connections can damage control components or create an unnecessary service call.
When a Professional Installation Is Worth It
Professional installation is a practical investment when the home has older HVAC controls, no usable C-wire, a heat pump, a zoned system, or a history of electrical or thermostat problems. It also makes sense when you want the work done without opening an air handler or accessing equipment in a tight attic, garage, or utility area.
A1 Home Electric helps homeowners address the electrical side of smart-home upgrades with quality and safety in mind. A proper evaluation can identify whether the thermostat needs a new common wire, whether the circuit and connections are in good condition, and whether another electrical issue is affecting HVAC performance.
A Nest thermostat should make your home easier to manage, not add uncertainty when you need cooling on a hot afternoon or heat on a cold morning. If the wiring is clear and the system checks out, careful installation can be a rewarding project. If anything about the setup is unclear, choosing experienced electrical service is a simple way to protect your comfort, your equipment, and your peace of mind.