
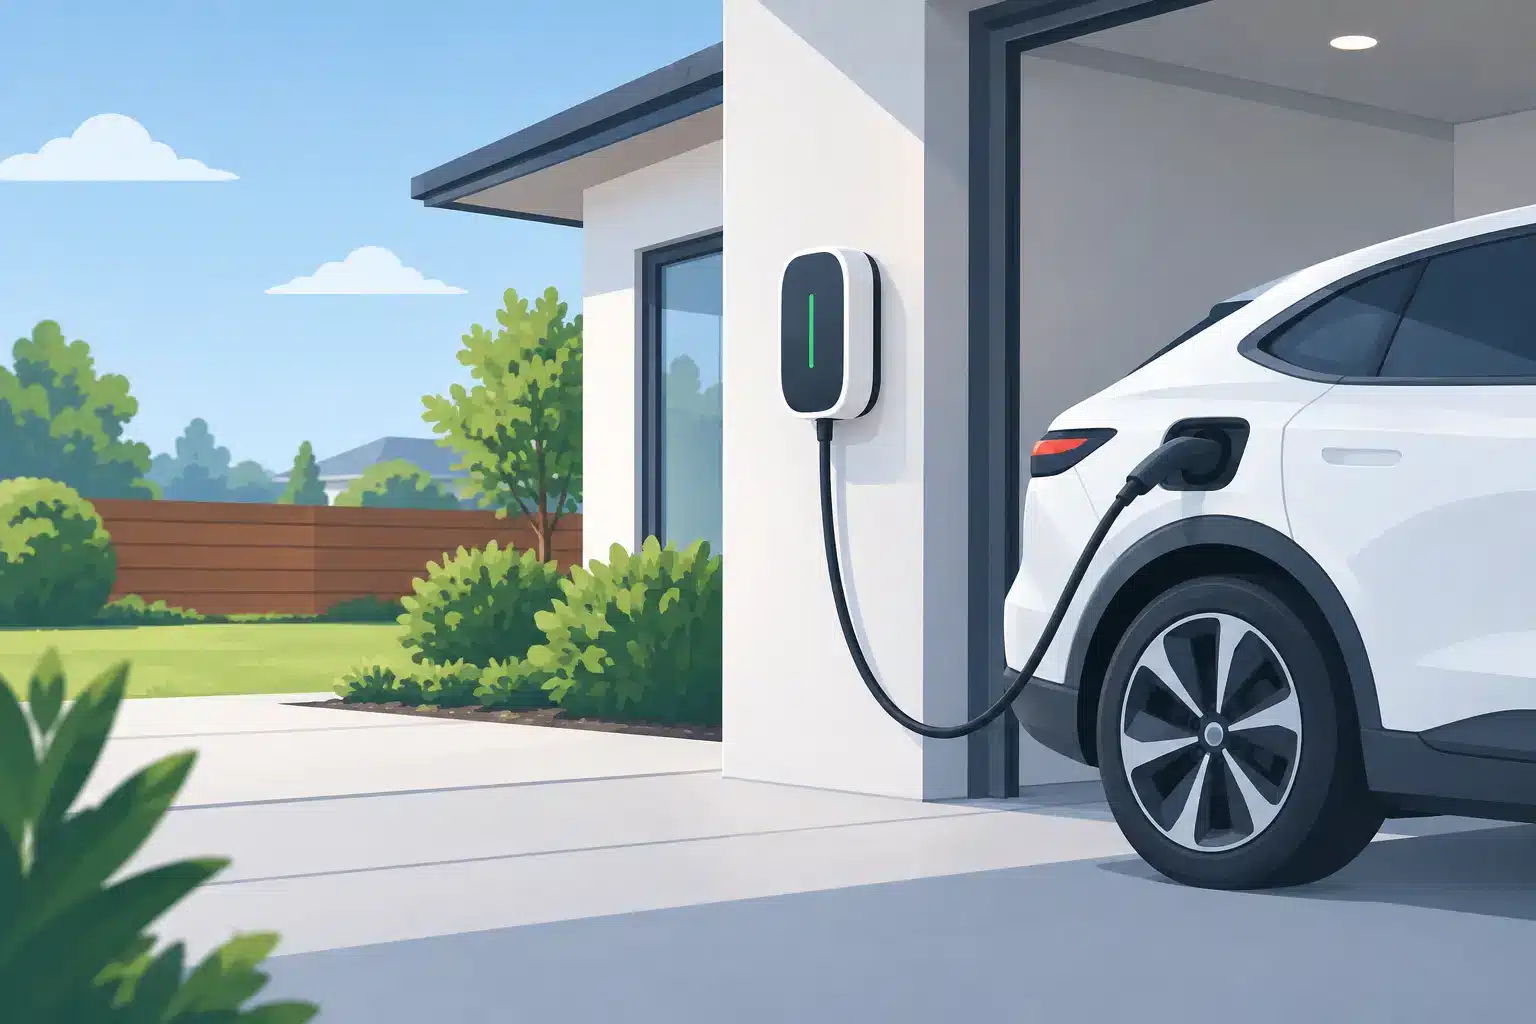
A public charger may work for an occasional top-up, but it is rarely the most convenient way to live with an electric vehicle. This EV charger installation example shows what a properly planned home charging project can look like, including the electrical checks that protect your home, vehicle, and daily routine.
For many homeowners, the goal is simple: come home, plug in, and wake up with enough range for the next day. Reaching that goal safely depends on more than mounting a charging unit on the wall. Your electrical panel capacity, garage layout, wiring route, permit requirements, and charger settings all need to work together.
An EV Charger Installation Example in a Typical Home
Consider a homeowner in Lancaster who has purchased an electric SUV and drives about 40 to 60 miles most weekdays. The vehicle came with a portable charging cord, but charging from a standard 120-volt outlet is too slow to reliably recover that daily mileage overnight. The homeowner wants a Level 2 charger in the garage, located near the front wall where the vehicle parks.
A Level 2 charger uses 240-volt power, similar to the power supplied for certain large appliances. It can provide substantially faster charging than a standard outlet, but the charger must be matched to the home’s electrical system and the vehicle owner’s actual needs. A bigger charger is not automatically the better choice if the panel does not have available capacity or the household does not need maximum charging speed.
The electrician begins with an on-site evaluation. They confirm the main service size, inspect the condition of the panel, identify existing major electrical loads, and calculate whether the system can safely support a new continuous load for EV charging. They also look at the route from the panel to the garage wall, including attic access, drywall, conduit needs, and any areas where the wiring will be exposed.
In this example, the home has a 200-amp service and a panel in good condition, with sufficient calculated capacity for a 50-amp dedicated circuit. The homeowner selects a hardwired Level 2 charger that can be configured to charge at 40 amps. This setup provides reliable overnight charging without requiring an immediate panel upgrade.
What the Installation Includes
Once the plan is approved, the electrician installs a dedicated two-pole breaker sized for the charging equipment and wiring method. EV chargers are continuous loads, meaning they may draw power for several hours at a time. That is why circuit sizing, conductor selection, termination quality, and breaker compatibility matter. A charging circuit should not be shared with a dryer, tools, lights, or other household equipment.
The wiring is routed from the panel to the garage using the appropriate protected pathway. In some homes, that route is straightforward through an attic or adjacent wall. In others, it may require surface-mounted conduit, trenching for a detached garage, or careful routing around finished spaces. The cleanest installation is not always the least expensive one, but a well-planned route helps protect the wiring and preserves the appearance of the home.
At the garage wall, the charger is mounted at a practical height near the parking position. The cable should reach the vehicle’s charge port without stretching across a walkway or creating a tripping hazard. The installer also considers how the cord will be stored when not in use. A charger placed a few feet too far left or right can become a daily annoyance, so parking habits are worth discussing before the mounting location is finalized.
After the equipment is mounted and connected, the electrician verifies proper grounding, voltage, breaker operation, and charger configuration. The unit is then tested with the vehicle or according to the manufacturer’s commissioning procedure. The final step is making sure the homeowner understands the charger’s basic operation, including scheduled charging settings and how to recognize a fault alert.
When a Panel Upgrade May Be Needed
Not every EV charger installation example is as simple as adding a new circuit. Many homes in Palmdale, Quartz Hill, and surrounding Antelope Valley neighborhoods have older electrical equipment or panels that are already serving several high-demand appliances.
A panel upgrade may be recommended when the existing service is undersized, the load calculation shows limited available capacity, the panel has no safe room for a new breaker, or the equipment is outdated or damaged. Homes with electric heating, multiple air conditioning systems, pool equipment, workshops, electric water heaters, or solar-related equipment can require a closer review.
This does not always mean the homeowner must choose between an EV charger and a costly upgrade. Depending on the electrical system and charging needs, options may include selecting a lower-output charger, using managed charging settings, installing approved load-management equipment, or planning a panel upgrade that also supports future home improvements. The right answer depends on the home, not just the vehicle.
An honest evaluation should make the trade-offs clear. A lower-amperage Level 2 charger may still fully recharge a vehicle overnight and cost less to install. A larger service upgrade may make better long-term sense for a household that expects to add another EV, replace gas appliances with electric models, or expand the home’s electrical demands.
Hardwired Charger or Plug-In Outlet?
Homeowners often ask whether they should install a hardwired charger or a 240-volt receptacle for a plug-in unit. Both can be appropriate when installed correctly, but they serve different priorities.
A hardwired charger has fewer connection points and is often a practical choice for a permanent garage installation. It can also support higher charging output in some configurations. A plug-in charger can offer flexibility if the homeowner may replace or relocate the equipment later, but the receptacle, plug, circuit, and charger must all be properly rated for the continuous load.
The decision should be based on the charger manufacturer’s instructions, the desired charging rate, the condition of the installation area, and whether portability is genuinely useful. It should not be based on whichever option appears quickest to install.
Common Details That Affect Cost and Timing
Two homes can need the same charger but have very different installation requirements. A garage beside the electrical panel may allow for a relatively direct run. A detached garage, a panel on the opposite side of the house, or a finished interior can add labor and materials.
Permitting and inspection requirements also affect project timing. A permitted installation provides an independent check that the work meets applicable safety requirements. It can be especially valuable when selling a home, filing insurance documentation, or planning additional electrical upgrades later.
The charger itself is another variable. Some units include Wi-Fi controls, energy monitoring, scheduling, or compatibility with utility programs. Those features can be useful, but reliability and proper installation should come first. A dependable charger that fits your driving habits is more valuable than extra features you will never use.
How to Prepare Before Scheduling Installation
Before an electrician visits, take note of where you park, which side of the vehicle contains the charge port, and how far that location is from the electrical panel. If you have selected a charger, keep the manufacturer information available. If you have not selected one, that is fine – an electrician can help you understand which charging capacity and installation style fit the home.
It also helps to mention future plans. A household adding a second electric vehicle, installing a pool, replacing an HVAC system, or converting appliances from gas to electric may benefit from planning electrical capacity now rather than revisiting the panel repeatedly.
A home charger should make electric vehicle ownership feel easier, not introduce uncertainty about your electrical system. With a careful evaluation and quality installation, your charging setup can support the miles ahead while keeping safety, reliability, and long-term home performance at the center of the project.